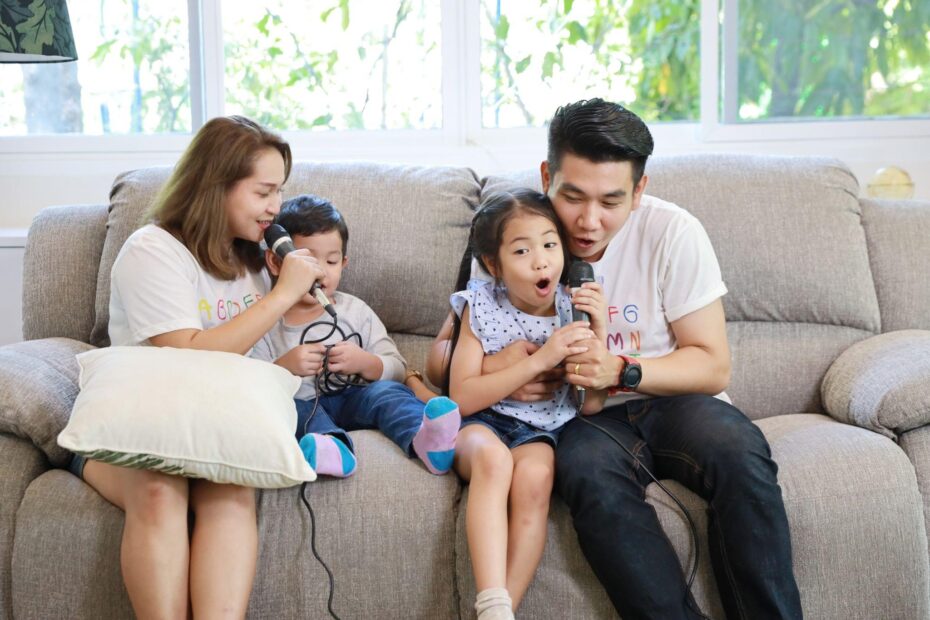
Missing the pre-pandemic days when you could still sing your heart out at KTV lounges with not a care in the world? We feel you, but all is not lost – for all you karaoke enthusiasts out there, perhaps it’s time to finally get the home karaoke setup that you’ve always wanted. With a home karaoke setup, you can jam to your favourite tunes as and when you like and bond over cosy karaoke sessions with your family – without taking a single step out of the house!
Setting up your very own home karaoke system is not as complicated as it sounds. There are two ways that you can go about doing it:
1) DIY your home karaoke setup, or
2) Get a karaoke machine.
What You Need For A DIY Home Karaoke Setup

If you already know a thing or two about karaoke equipment and would like to customise the setup to suit your needs, a DIY home karaoke setup is for you. Read on to find out everything you need for a DIY home karaoke setup.
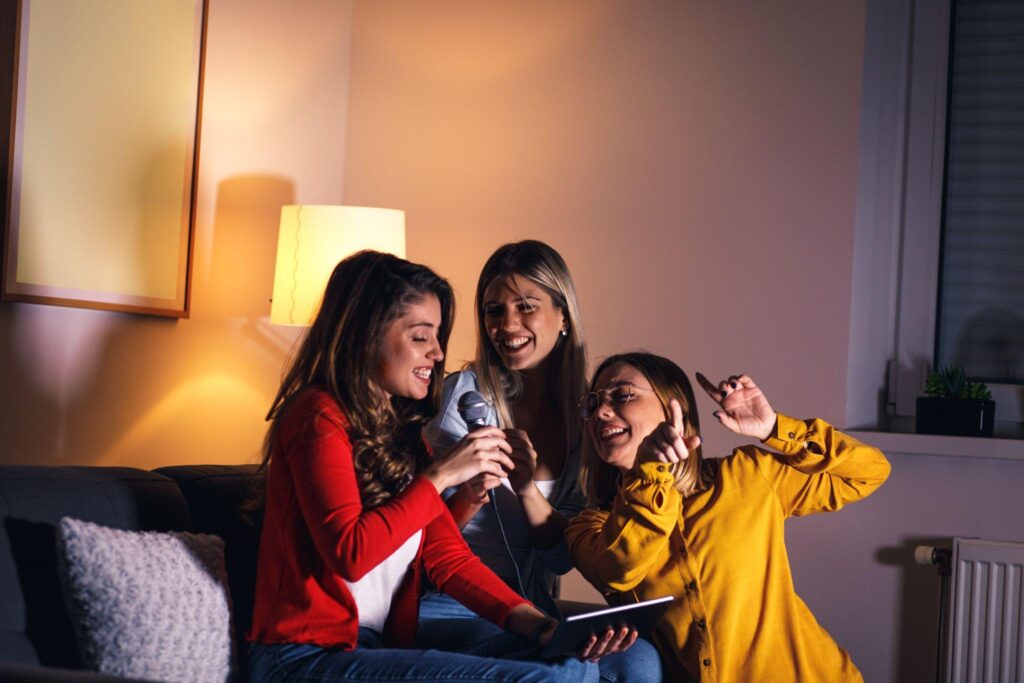
1. Microphones

The first and probably most important thing you need in your DIY home karaoke setup – you guessed it – is a microphone. Whether you’re looking at having an intimate duet or a karaoke party, we think that two is a good number of microphones to have. There is no limit to the number of microphones you can get but bear in mind that most amplifiers are only compatible with two microphones (we’ll go more into amplifiers in a bit). So, if you are looking to get more than two microphones, you might need to get a more expensive mixer that can accommodate all your microphones.
Another key consideration is whether you should get wired or wireless microphones. If you’re working with a tight budget and want to keep your home karaoke setup super inexpensive, wired microphones are the way to go. However, if you have more budget to spare, we highly recommend wireless microphones. Tripping over wires while you groove to your favourite beats is the last thing you want to happen at your karaoke party, and nobody wants to deal with a mess of tangled wires in the aftermath, either!
2. Speakers
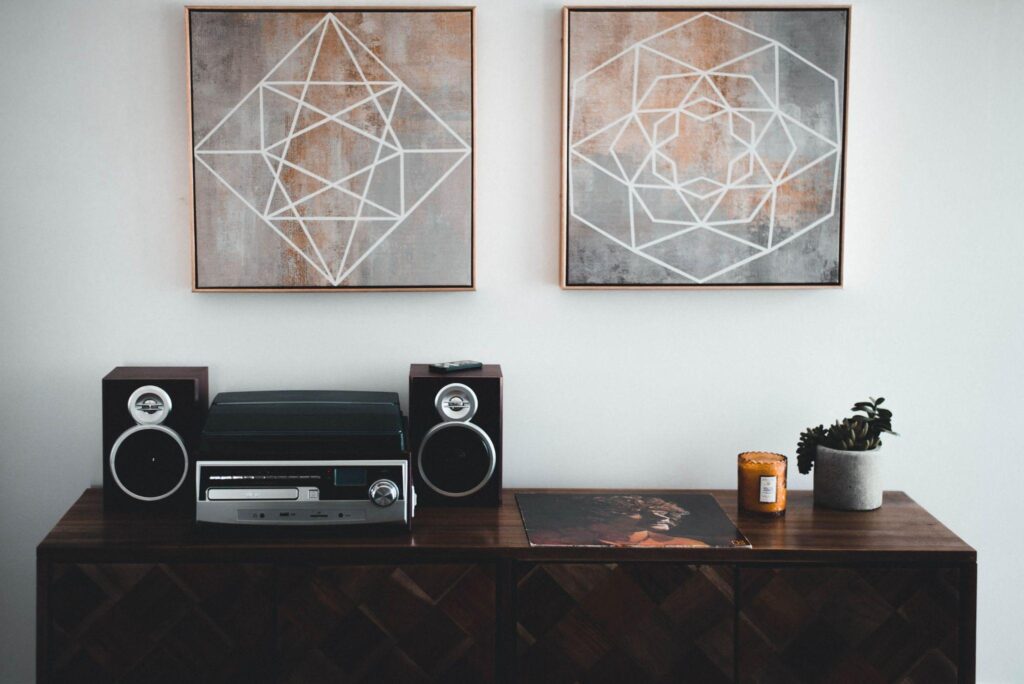
When looking for a speaker for your home karaoke setup, make sure to get karaoke speakers instead of regular home theatre speakers. It may come as a surprise, but regular speakers are not designed for karaoke use – regular speakers don’t support live vocal frequencies and can be destroyed by loud performances. This means that if you try to put on a passionate performance with your home speaker, you’re going to be sorely disappointed by the subpar sound quality, and worse still, have to deal with an irreversibly damaged speaker at the end. So, save yourself the hassle and get a dedicated karaoke speaker – you won’t regret it!
3. Amplifier
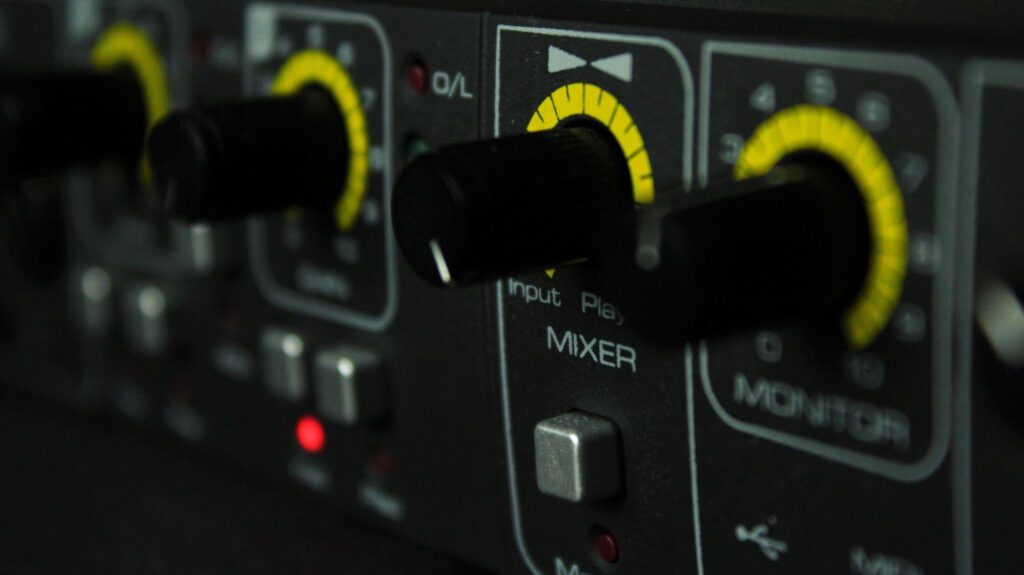
So you’ve heard of microphones and speakers, but what exactly are amplifiers? Amplifiers, also known as mixers, combine audio from several different sources. When you sing karaoke, there will be at least two sources of audio – your instrumental background track and the people singing into the microphone(s). The job of the karaoke amplifier would be to amplify these different sound sources, enhance your vocals and elevate your overall karaoke experience.
4. Background Tracks

No karaoke experience is complete without the background music – if you’re looking for a fuss-free, cost-effective solution, we recommend YouTube. Simply search for the instrumental version of your song on YouTube and start singing! Of course, there is much more karaoke software available on the market that you can consider. Just make sure that the software you’ve chosen is compatible with both your amplifier and screen.
How To Set Up Your DIY Home Karaoke System
Now that you have everything that you need, you can go ahead to set up your very own DIY home karaoke system by following these steps:
- Connect your microphone to the amplifier, either using XLR cables if you’re using wired microphones or via Wi-Fi or Bluetooth if your microphones are wireless.
- Connect your speaker to the amplifier.
- Connect your amplifier to your audio & video output device.
- Connect your audio & video output device to a TV screen using an HDMI cable or wirelessly if you have a smart TV.
- Start singing!
Another (Easier) Way To Set Up Karaoke At Home
While a DIY karaoke setup allows you to customise your choice of equipment to suit your needs, it can be confusing and time-consuming, especially if you’ve just started exploring home karaoke systems. If you’re a beginner, we recommend getting a karaoke machine that already comes with everything that you need for a fuss-free karaoke sesh at home. Simply plug the device into your screen, and you’re all set to start singing! If you want the ultimate karaoke experience with the full get-up, you can check out these karaoke packages.
MB Karaoke is Singapore’s most highly rated home karaoke provider on Shopee, Google, Instagram, Facebook & more. We’ve also been featured for our home karaoke systems on digital platforms like The Smart Local & The Wedding Vow.
Have further questions about home karaoke setup & equipment? The MB Karaoke team is always here to help. Speak to us today.